Cómo Leer Una API con Angular 18
 3 minuto(s)
En esta página:
Github
En Angular 18, varias cosas han cambiado.
Para consumir los datos de una API debemos realizar ciertos pasos determinados.
En este tutorial te enseñaré a Cómo Leer Una API con Angular 18, vamos con ello.
Leer API con Angular 18
Sigue los pasos que te brindo a continuación para que todo salga bien:
Creación de Nuevo Proyecto
Creamos un nuevo proyecto usando la Angular CLI.
Ejecutamos el siguiente comando en nuestra terminal o consola de comandos:
|
1 2 3 |
ng new leer-api-angular-18 --standalone=false |
En el comando anterior le estoy pasando la opción –standalone con el booleano false.
Esto lo hago para tener los archivos y elementos necesarios en el proyecto, ya que Angular 18 no te agrega ciertos elementos al crear un nuevo proyecto.
Por ejemplo si no le pasamos la opción –standalone=false, Angular 18 no me agrega el archivo app.module.ts, entre otros archivos.
Creación de la Interfaz
Ejecutamos el siguiente comando para crear una interfaz:
|
1 2 3 4 5 |
ng generate interface datos CREATE src/app/datos.ts (29 bytes) |
Creación del Servicio
Ejecutamos el siguiente comando para crear un servicio:
|
1 2 3 4 5 6 |
ng generate service datos CREATE src/app/datos.service.spec.ts (368 bytes) CREATE src/app/datos.service.ts (143 bytes) |
Abre el archivo datos.service.ts y agrega los siguiente:
|
1 2 3 4 5 6 7 8 9 10 11 12 13 14 15 16 17 18 19 20 21 22 23 24 25 26 27 28 |
// Importamos estos elementos import { Injectable } from '@angular/core'; import { HttpClient } from '@angular/common/http'; import { Observable } from 'rxjs'; // Importamos la interfaz 'datos' import { Datos } from './datos'; @Injectable({ providedIn: 'root' }) export class DatosService { // URL de la API private url = 'http://localhost:8000/api/v1'; constructor(private http: HttpClient) { } getDatos(): Observable<Datos[]> { // Endpoint de la API return this.http.get<Datos[]>(`${this.url}/postres`); } } |
Configuración del módulo
Abrimos el archivo app.module.ts y agregamos lo siguiente:
|
1 2 3 4 5 6 7 8 9 10 11 12 13 14 15 16 17 18 19 20 21 22 23 |
import { NgModule } from '@angular/core'; import { BrowserModule } from '@angular/platform-browser'; import { AppRoutingModule } from './app-routing.module'; import { AppComponent } from './app.component'; // Cliente HTTP import { provideHttpClient } from '@angular/common/http'; @NgModule({ declarations: [ AppComponent ], imports: [ BrowserModule, AppRoutingModule ], providers: [provideHttpClient()], // Registramos el cliente HTTP bootstrap: [AppComponent] }) export class AppModule { } |
Configuración del componente
En nuestro archivo app.component.ts agregamos lo siguiente:
|
1 2 3 4 5 6 7 8 9 10 11 12 13 14 15 16 17 18 19 20 21 22 23 24 25 26 27 28 29 30 31 32 33 34 35 36 37 38 39 40 |
import { Component, OnInit } from '@angular/core'; // Importamos la interfaz 'datos' import { Datos } from './datos'; // Importamos el servicio 'datos' import { DatosService } from './datos.service'; @Component({ selector: 'app-root', templateUrl: './app.component.html', styleUrl: './app.component.css' }) export class AppComponent implements OnInit { datos: Datos[] = []; // Variable datos titulo: any; // Tipo para la variable titulo // Declaramos el servicio 'DatosService' como privado en el constructor constructor(private datosService: DatosService) {} ngOnInit(): void { // Accedemos a los datos usando el servicio 'DatosService' this.datosService.getDatos().subscribe((datos) => { this.datos = datos; console.log(datos); // Mostramos los datos en la consola }); // Variable titulo this.titulo = 'Cómo Leer Una API con Angular 18'; } } |
Creación del template HTML
En el archivo app.component.html agregamos lo siguiente:
|
1 2 3 4 5 6 7 8 9 10 11 12 13 14 15 16 17 18 19 20 21 22 23 24 |
<div class="container mt-5"> <h2>{{ titulo }}</h2> <table class="table"> <thead> <tr> <th scope="col">ID</th> <th scope="col">Nombre</th> <th scope="col">Precio</th> <th scope="col">Stock</th> </tr> </thead> <tbody> <!-- Iteramos los datos --> <tr *ngFor="let dato of datos"> <th scope="row">{{ dato.id }}</th> <td>{{ dato.nombre }}</td> <td>{{ dato.precio }}</td> <td>{{ dato.stock }}</td> </tr> </tbody> </table> </div> |
Eso es todo, con ello ya podemos leer nuestra API en Angular 18.
Probando la API
Iniciamos el servidor de Angular ejecutando el siguiente comando:
|
1 2 3 4 5 6 7 8 9 10 11 12 13 14 15 16 17 |
ng serve --open Initial chunk files | Names | Raw size polyfills.js | polyfills | 90.23 kB | main.js | main | 5.62 kB | styles.css | styles | 95 bytes | | Initial total | 95.94 kB Application bundle generation complete. [1.713 seconds] Watch mode enabled. Watching for file changes... NOTE: Raw file sizes do not reflect development server per-request transformations. ➜ Local: http://localhost:4200/ ➜ press h + enter to show help |
Si abrimos la ruta local http://localhost:4200/ en nuestro navegador.
Podemos ver que los datos de la API se muestra correctamente en una bonita tabla HTML:
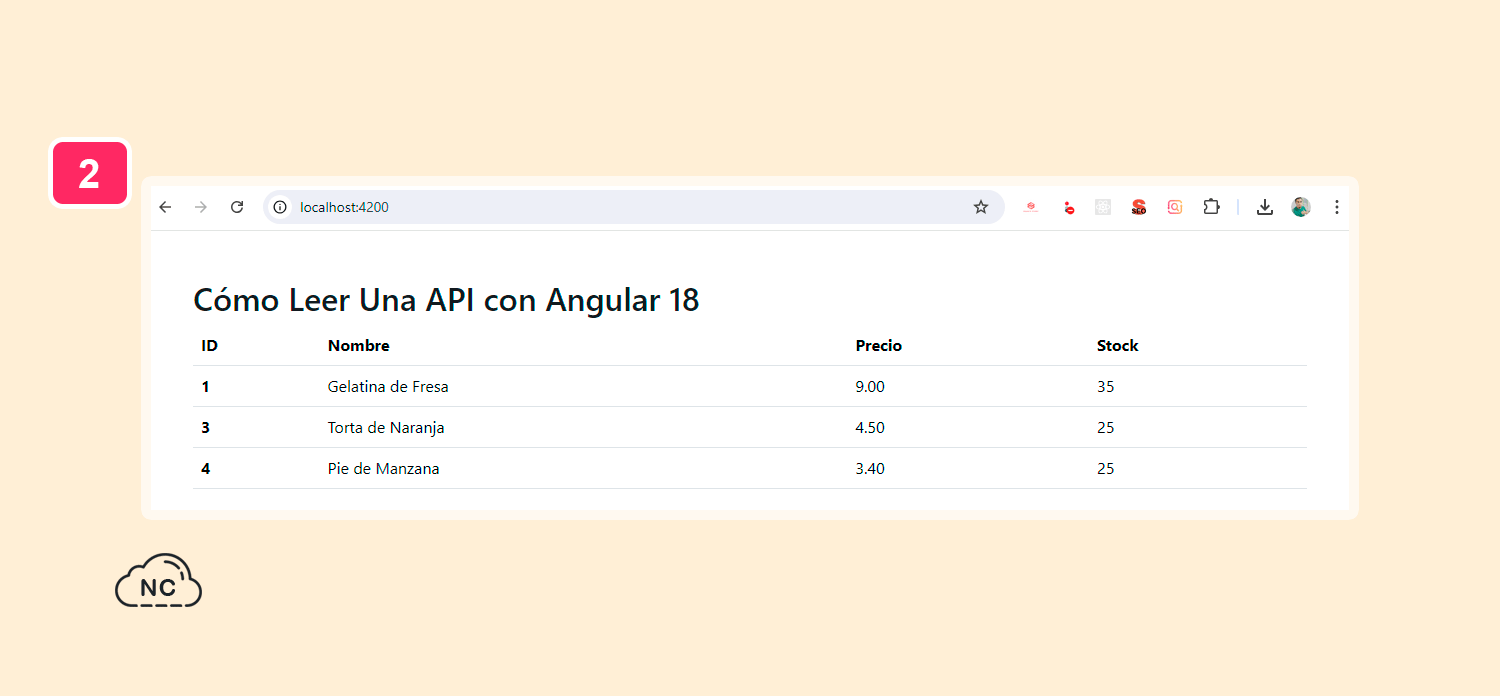
Así de fácil puedes leer una API con Angular 18.
Conclusión
En este tutorial has aprendido a Cómo Leer Una API con Angular 18.
Te orientará para que puedas consumir o leer tus API con el framework Angular.
Solo necesitas practicar mucho para dominar Angular.
Nota(s)
- No olvides que debemos usar la Tecnología para hacer cosas Buenas por el Mundo.
- Angular
- 20-08-2024
- 30-08-2024
- Crear un Post - Eventos Devs - Foro





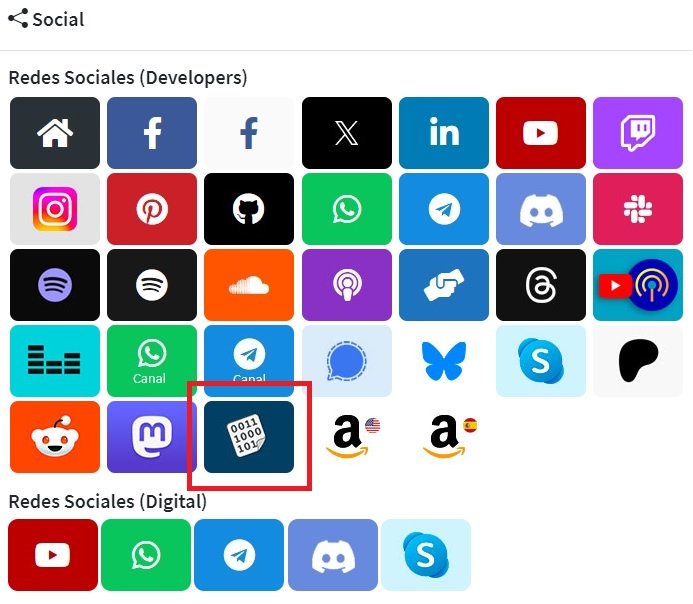 Seguimos trabajando las 24 horas del día para brindarte la mejor experiencia en la comunidad.
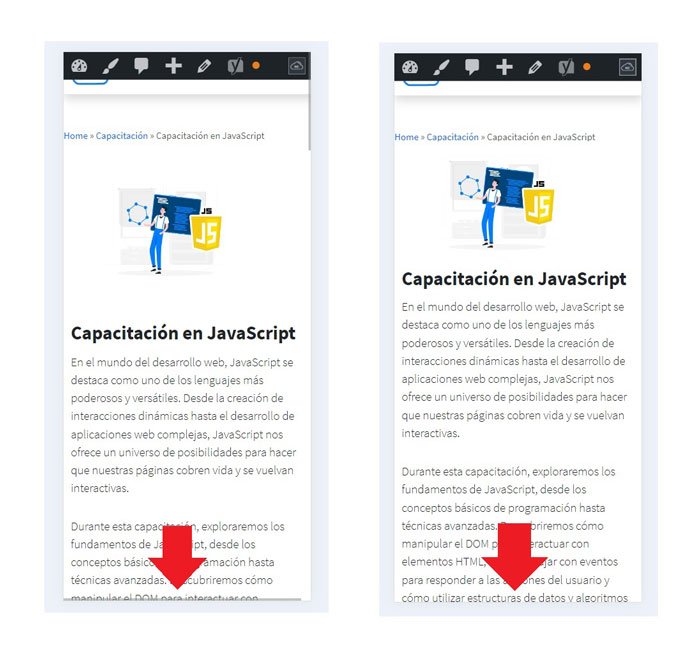 Hemos corregido el problema y ahora la web no muestra esa barra horizontal y se ve en su tamaño natural.
Seguimos trabajando las 24 horas del día, para mejorar la comunidad.
 Seguimos trabajando las 24 horas y 365 días del año para mejorar tu experiencia en la comunidad.
 Seguimos trabajando para brindarte le mejor experiencia en Nube Colectiva.

Social
Redes Sociales (Developers)
Redes Sociales (Digital)