Implementando “Facebook Reactions” con CSS 3
 3 minuto(s)
En esta página:
Demo Github
Facebook lanzo a principios del año 2016 “Reactions”, el cual ofrece nuevas formas de interactuar con las publicaciones en el Timelime de Facebook. Esta característica hace que el usuario pueda reaccionar según sea su interés, las reacciones principales son, Me gusta, Me encanta, Me divierte, Me asombra, Me entristece, y Me enoja, quizás Facebook decide agregar mas reacciones, pero por ahora es lo que nos brinda. En este tutorial para desarrolladores vamos a implementar Facebook reactions con CSS 3.
Implementando Facebook Reactions
Colocamos antes de cerrar la etiqueta </head> el archivo estilos.css:
|
1 2 3 |
<link href="estilos.css" rel="stylesheet" type="text/css" /> |
Creamos nuestro archivo estilos.css
estilos.css
|
1 2 3 4 5 6 7 8 9 10 11 12 13 14 15 16 17 18 19 20 21 22 23 24 25 26 27 28 29 30 31 32 33 34 35 36 37 38 39 40 41 42 43 44 45 46 47 48 49 50 51 52 53 54 55 56 57 58 59 60 61 62 63 64 65 66 67 68 69 70 71 72 73 74 75 76 77 78 79 80 81 82 83 84 85 86 87 88 89 90 91 92 93 94 95 96 97 98 99 100 101 102 103 104 105 106 107 108 109 110 111 112 113 114 115 116 117 118 119 120 121 122 123 124 125 126 127 128 129 130 131 132 133 134 135 136 137 138 139 140 141 142 143 144 145 146 147 148 149 150 151 152 153 154 155 156 157 158 159 160 161 162 163 164 165 166 167 168 169 170 171 172 173 174 175 176 177 178 179 180 181 182 183 184 185 186 187 188 189 190 191 192 193 194 195 196 197 198 199 200 201 202 203 204 205 206 207 208 209 210 211 212 213 214 215 216 217 218 219 220 221 222 |
.text-desc, [class*="reaction-"], .field-reactions, .field-reactions:checked:focus ~ .text-desc { clip: rect(1px, 1px, 1px, 1px); overflow: hidden; position: absolute; top: 0; left: 0; } .field-reactions:focus ~ .text-desc, .box:hover [class*="reaction-"], .field-reactions:checked ~ [class*="reaction-"] { clip: auto; overflow: visible; opacity: 1; } .main-title { background: #3a5795; padding: 10px; color: #fff; text-align: center; font-size: 16px; text-shadow: 1px 1px 3px rgba(0, 0, 0, 0.3); } .text-desc { font-weight: normal; text-align: center; transform: translateY(-50px); white-space: nowrap; font-size: 13px; width: 100%; } [class*="reaction-"] { border: none; background-image: url(../img/icons.png); background-color: transparent; display: block; cursor: pointer; height: 48px; position: absolute; width: 48px; z-index: 11; top: -28; transform-origin: 50% 100%; transform: scale(0.1); transition: all 0.3s; outline: none; will-change: transform; opacity: 0; } .box { position: absolute; left: calc(50% - 150px); top: calc(37% - 50px); width: 300px; } .overlay { position: fixed; top: 0; left: 0; right: 0; bottom: 0; z-index: 9; visibility: hidden; } .field-reactions:focus ~ .label-reactions { border-color: rgba(88, 144, 255, 0.3); } .field-reactions:checked:focus ~ .label-reactions { border-color: transparent; } .label-reactions { border: 2px dotted transparent; display: block; margin: 0 auto; width: 100px; color: transparent; cursor: pointer; font-size: 12px; color: #7f7f7f; } .toolbox { background: #fff; height: 52px; box-shadow: 0 0 0 1px rgba(0, 0, 0, 0.08), 0 2px 2px rgba(0, 0, 0, 0.15); width: 300px; border-radius: 40px; top: -30px; left: 0; position: absolute; visibility: hidden; opacity: 0; transition: opacity 0.15s; } .legend-reaction { background: rgba(0, 0, 0, 0.75); border-radius: 10px; box-sizing: border-box; color: #fff; display: inline-block; font-size: 11px; text-overflow: ellipsis; font-weight: bold; line-height: 20px; max-width: 850%; width: 90px; opacity: 0; overflow: hidden; padding: 0 6px; transition: opacity 50ms ease; left: 50%; position: absolute; text-align: center; top: -28px; transform: translateX(-50%); } .box:hover [class*="reaction-"] { transform: scale(0.8) translateY(-40px); } .box:hover [class*="reaction-"]:hover, .box:hover [class*="reaction-"]:focus { transition: all 0.2s ease-in; transform: scale(1) translateY(-35px); } .box:hover [class*="reaction-"]:hover .legend-reaction, .box:hover [class*="reaction-"]:focus .legend-reaction { opacity: 1; } .box:hover .toolbox { opacity: 1; } .box:hover .toolbox { visibility: visible; } .box:hover .reaction-love { transition-delay: 0.03s; } .box:hover .reaction-haha { transition-delay: 0.09s; } .box:hover .reaction-wow { transition-delay: 0.12s; } .box:hover .reaction-sad { transition-delay: 0.15s; } .box:hover .reaction-angry { transition-delay: 0.18s; } .field-reactions:checked ~ [class*="reaction-"] { transform: scale(0.8) translateY(-40px); } .field-reactions:checked ~ [class*="reaction-"]:hover, .field-reactions:checked ~ [class*="reaction-"]:focus { transition: all 0.2s ease-in; transform: scale(1) translateY(-35px); } .field-reactions:checked ~ [class*="reaction-"]:hover .legend-reaction, .field-reactions:checked ~ [class*="reaction-"]:focus .legend-reaction { opacity: 1; } .field-reactions:checked ~ .toolbox { opacity: 1; } .field-reactions:checked ~ .toolbox, .field-reactions:checked ~ .overlay { visibility: visible; } .field-reactions:checked ~ .reaction-love { transition-delay: 0.03s; } .field-reactions:checked ~ .reaction-haha { transition-delay: 0.09s; } .field-reactions:checked ~ .reaction-wow { transition-delay: 0.12s; } .field-reactions:checked ~ .reaction-sad { transition-delay: 0.15s; } .field-reactions:checked ~ .reaction-angry { transition-delay: 0.18s; } .reaction-like { left: 0; background-position: 0 -144px; } .reaction-love { background-position: 0 -192px; left: 50px; } .reaction-haha { background-position: 0 -96px; left: 100px; } .reaction-wow { background-position: 0 -288px; left: 150px; } .reaction-sad { background-position: 0 -240px; left: 200px; } .reaction-angry { left: 250px; } .footer { padding-top: 105px; } |
Con el anterior CSS tenemos la animación y las medidas necesarias para hacer funcionar Reactions.
Ahora en nuestro archivo index.html creamos las siguientes lineas:
index.html
En los comentarios explico para que sirve cada elemento:
|
1 2 3 4 5 6 7 8 9 10 11 12 13 14 15 16 17 18 19 20 21 22 |
<div class="box"> <input type="checkbox" id="like" class="field-reactions"> <!-- Texto de ayuda --> <h3 class="text-desc">Presiona TAB para navegar por las reacciones y luego ENTER para elegir.</h3> <!-- Mostramos el texto Me Gusta --> <label for="like" class="label-reactions">Me Gusta</label> <!-- Creamos el contenedor para mostrar los iconos --> <div class="toolbox"></div> <!-- Creamos los iconos para cada reacción --> <button class="reaction-like"><span class="legend-reaction">Me gusta</span></button> <button class="reaction-love"><span class="legend-reaction">Me encanta</span></button> <button class="reaction-haha"><span class="legend-reaction">Me divierte</span></button> <button class="reaction-wow"><span class="legend-reaction">Me asombra</span></button> <button class="reaction-sad"><span class="legend-reaction">Me entristece</span></button> <button class="reaction-angry"><span class="legend-reaction">Me enoja</span></button> </div> |
Eso es todo, espero que le guste y se diviertan mucho con este artículo.
Gracias por su atención.
- CSS Tutoriales
- 10-04-2016
- 07-09-2022
- Crear un Post - Eventos Devs - Foro




 Seguimos trabajando las 24 horas del día para brindarte la mejor experiencia en la comunidad.
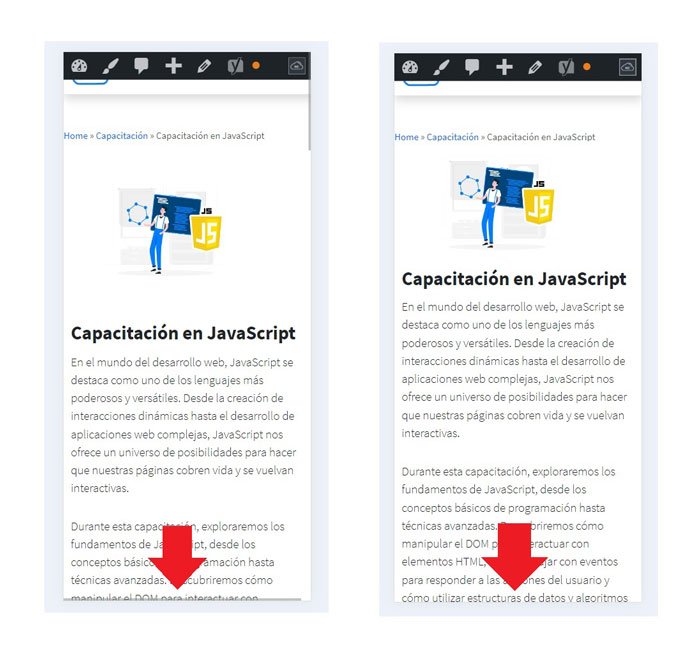 Hemos corregido el problema y ahora la web no muestra esa barra horizontal y se ve en su tamaño natural.
Seguimos trabajando las 24 horas del día, para mejorar la comunidad.
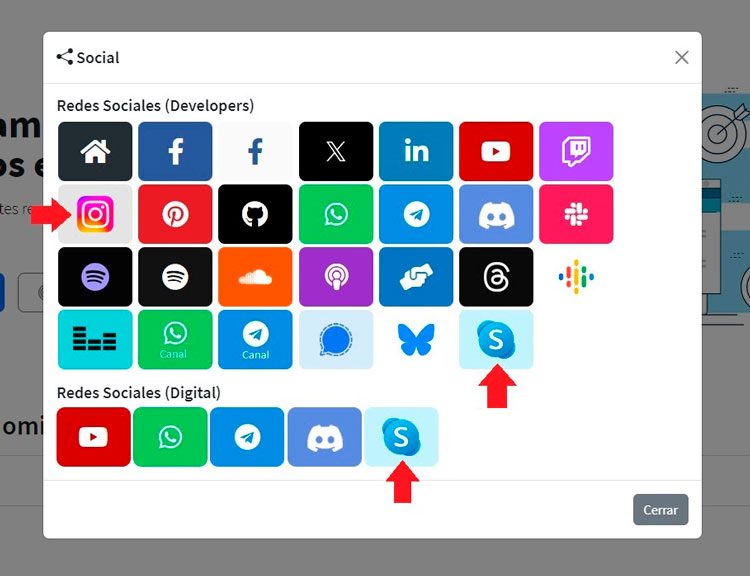 Seguimos trabajando las 24 horas y 365 días del año para mejorar tu experiencia en la comunidad.
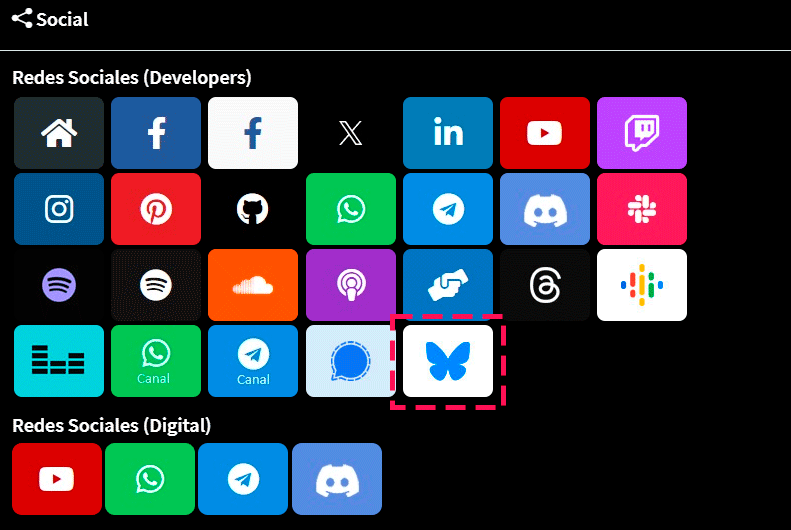
 Seguimos trabajando para brindarte le mejor experiencia en Nube Colectiva.

Social
Redes Sociales (Developers)
Redes Sociales (Digital)